16. 5. 2026
The most common mistakes when installing PVC tiles (and how to avoid them)
Installing PVC tiles is simple, but it requires care
Interlocking PVC floor tiles have gained enormous popularity mainly thanks to their easy installation. There is no need for complicated construction work, tedious full-surface gluing or technological breaks – you can start using the floor practically immediately. In many cases, all it really takes is preparing the subfloor, measuring the space properly, clicking the tiles together and neatly cutting the edges.
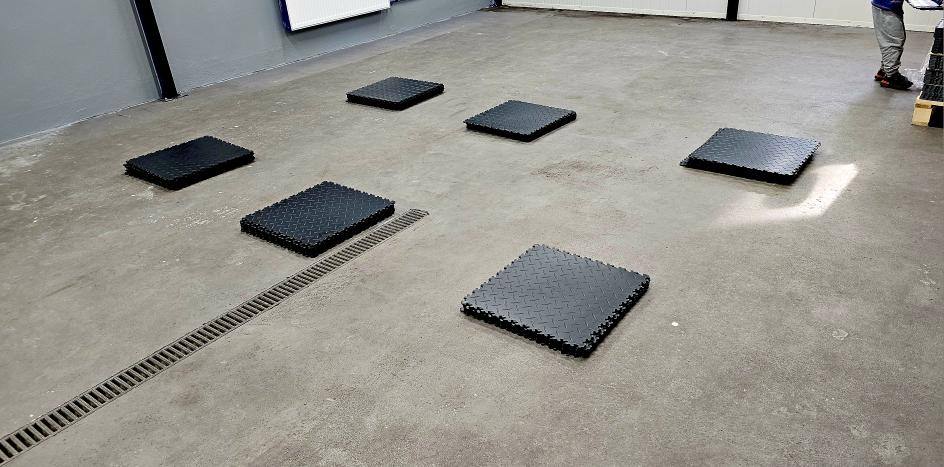
When easy installation tempts you to cut corners
It is precisely this speed and accessibility, however, that often tempts people to underestimate the job. The "it will work out somehow" approach usually leads to important steps being skipped. Installation starts straight from the first wall, the necessary expansion gaps are forgotten, unevenness in the original surface is ignored and details are dealt with on the fly. Yet it is precisely the precise details and careful preparation that determine whether the result will look clean, work reliably and withstand long-term loads.
A quality installation is simply not just about mechanically laying tiles next to each other. It requires a clear plan. You need to know in advance exactly where to start the installation, how the surface will connect to entrances, gates or columns, and how the edge cuts will logically work out. While a slight deviation may go unnoticed in a small home garage, in larger commercial spaces, warehouses or busy workshops, every mistake multiplies mercilessly with every additional metre.
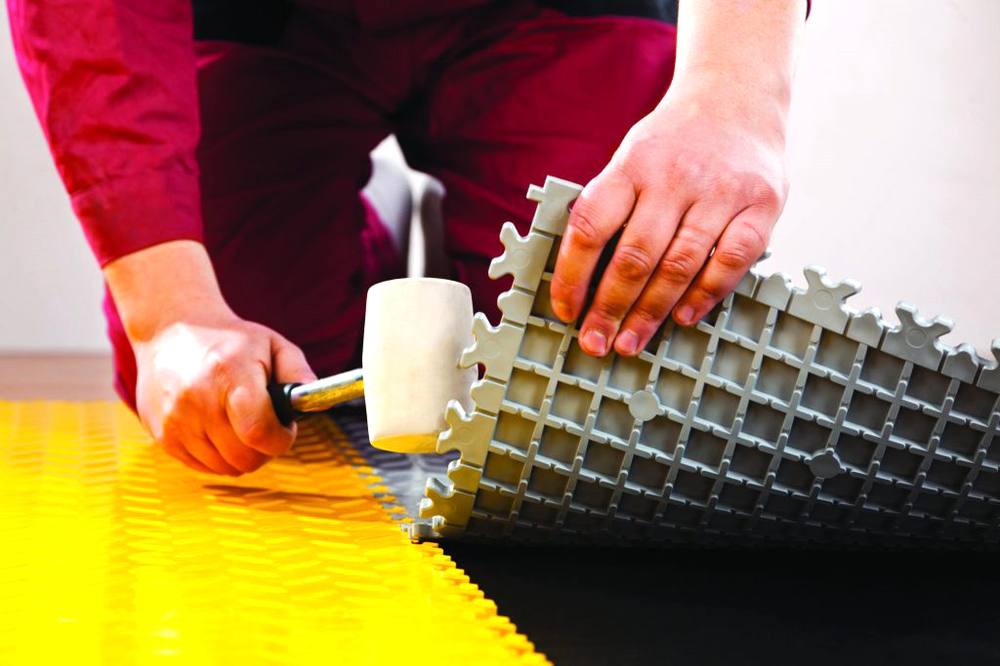
Starting the installation without checking the subfloor – mistake no. 1
One of the most common mistakes is the mistaken belief that PVC tiles will mercifully hide absolutely every defect in the original floor. While interlocking tiles are far more tolerant of imperfections than most other floor coverings and often require no complicated levelling, that does not mean they can handle absolutely anything.
A quick sweep is sometimes not enough
For minor dirt, thoroughly sweeping or vacuuming the surface really is enough. The situation changes, however, when the subfloor is covered by a thick layer of fine dust, old peeling paint or coarse pieces of rubble. In that case, the tiles would not rest on a solid base and the floor might not work properly.
Also watch out for older operational contamination – especially heavy grease, pools of oil or extreme moisture. Light soiling itself does not bother the tiles, but if you have doubts about the stability or cleanliness of extremely affected areas, it is always safer to degrease or treat the subfloor locally than to deal with the problem after installation.
Repair larger potholes and holes in advance
If the subfloor suffers from deeper depressions and potholes, it definitely pays to fill them with a suitable fast-setting compound before installation. It is not that a tile above a hole would crack immediately – PVC material is very tough. The reason is even distribution of pressure.
While in a home garage a minor unevenness might just give you a slight bounce when walking, in a busy warehouse it will pose a real obstacle for passing pallet trucks, handling equipment or tall racking. The golden rule is clear: the more intensive the traffic you expect, the more thorough the initial subfloor preparation must be.
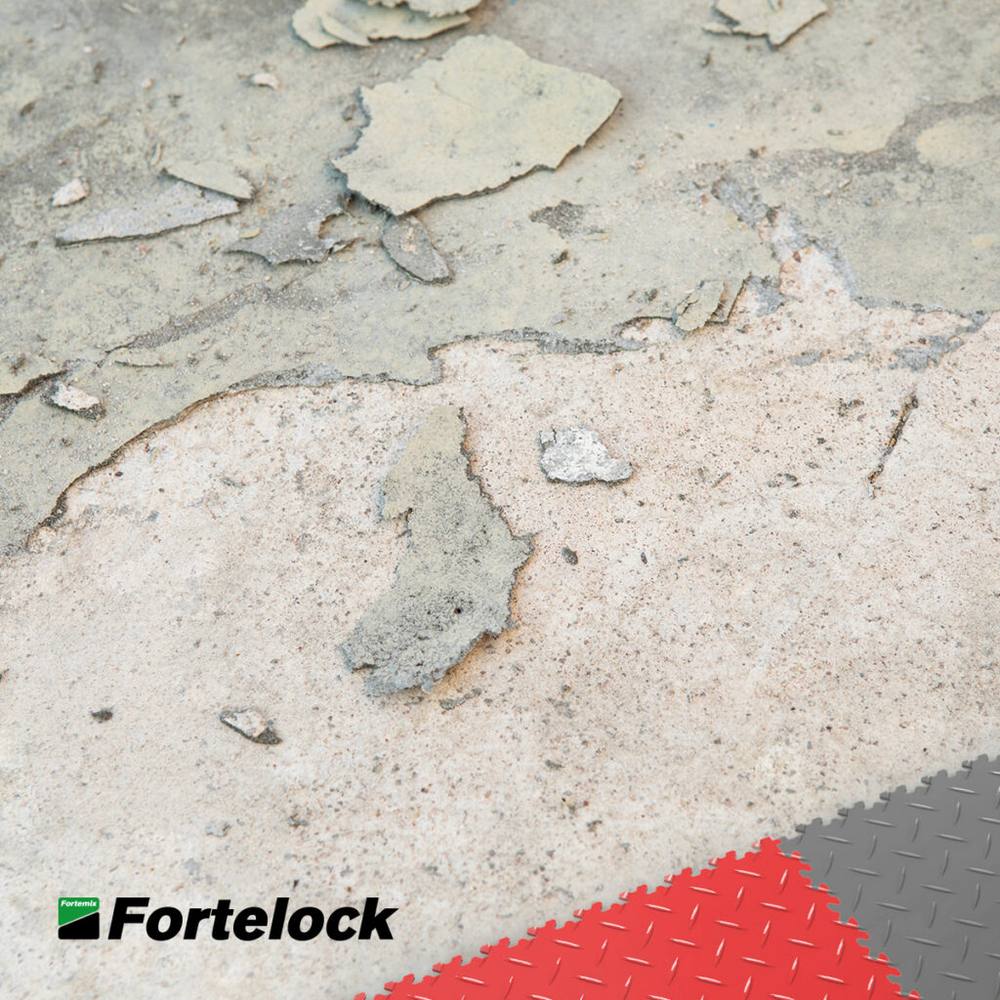
Underestimating preparation and measuring the space – mistake no. 2
Installing "by eye" may be temptingly quick at first, but it soon backfires. As soon as you reach the walls, columns or entrances, small inaccuracies start to add up relentlessly. The result can be unsightly narrow edge cuts, rows that drift apart and a floor that looks visually crooked.
Before you even lay the first tile, it pays to pick up a tape measure. Thoroughly check the length and width of the room and take into account the position of gates, alcoves and fixed elements. The key is to determine the ideal installation direction in advance and logically plan where the edge cuts will be least (or, conversely, most) visible.
Help yourself with guide lines
For larger areas, marking cross guide lines on the subfloor is an absolute necessity. They will help you keep the tiles at a perfect right angle and warn you in time if the whole surface starts to drift slightly.
While in a small room a millimetre deviation is easily lost, in a large warehouse it turns into a fatal problem at the other end of the hall. Regularly checking the axis is always much easier than later dismantling dozens of metres of finished floor.
Leave the edge cuts for the very end
A common bad habit is trying to cut and fit the edge pieces too early. The correct procedure is different – first assemble the entire main area using only whole tiles, and only then precisely measure and cut the edges. Walls are rarely perfectly straight and square.
Especially in older garages or industrial premises, you will only discover the true crookedness of the walls once you reach them with the floor. If you leave the edge cuts for last, you will be working with the real geometry of the room and the floor will fit the edges absolutely precisely.
Choosing the wrong starting point – mistake no. 3
The place where you start the installation directly defines the result of the entire job. Many people automatically choose the nearest wall or the corner that seems easiest. However, it is always necessary to take into account the operational logic of the whole space. The entrance, entry gate or main corridors are the most heavily loaded – and at the same time the most visible – places.
Practice therefore clearly shows that it is best to start the installation right from the main entrance and proceed smoothly into the room. Only this way will you ensure that the floor is absolutely stable, precisely connected and visually flawless at the most critical points.
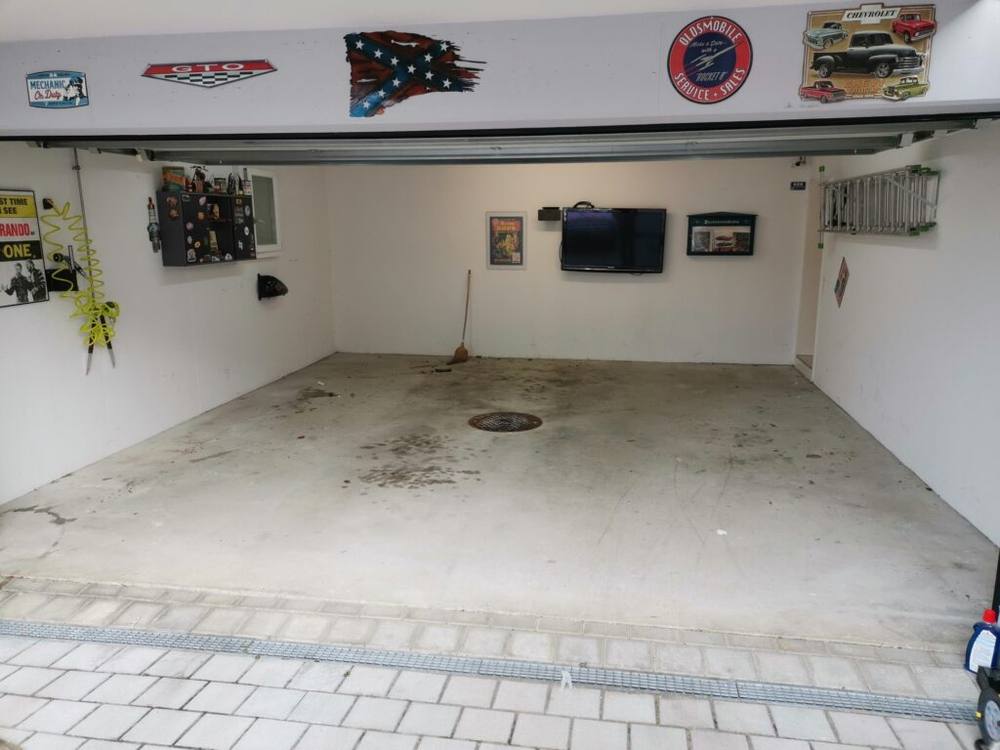
Visible places deserve the cleanest transitions
If an unavoidable narrow edge cut ends up behind a back rack or in a dark corner, no harm done. But if the floor visibly "drifts" right at the entrance to your premises, it will be the first thing that hits you (and your customers) in the eye every day. Therefore, think carefully in advance about where any less attractive edge cuts can be elegantly hidden and where, on the contrary, you must not compromise.
Watch out for gates, thresholds and transitions
Transitions between different surfaces and entrances are among the most frequently underestimated details. Yet they face by far the greatest mechanical stress. They are constantly driven over, material is handled across them and height differences are negotiated.
An amateurishly handled transition not only obstructs smooth movement and looks unfinished, but also radically increases the risk of edge tiles breaking out or being damaged. Therefore, plan and measure all entry ramps and finishing profiles at the very beginning of the project, not when you have only the last metre left to lay.
Ignoring expansion gaps – mistake no. 4
PVC is a thermoplastic material, which means it naturally reacts to temperature changes and constantly "works". If you push the tiles completely tight against walls, columns or firmly anchored racking, the material will have no room to expand.
The result will not take long to appear – under pressure, the floor will start to bulge and buckle. Around all fixed obstacles, therefore, always leave an appropriate gap according to the technical recommendation for the given type of load and covering.
Extreme temperature fluctuations and direct sunlight
Areas exposed to direct sunlight or sharp temperature changes are a chapter of their own. Typically, these are glazed shopfronts, uninsulated halls, French windows or the immediate vicinity of industrial gates.
It is precisely in these extremely exposed zones that the greatest thermal stress in the material occurs, and a standard floating installation may no longer be sufficient. It is therefore often recommended to fix the tiles over the whole surface with a suitable adhesive in these specific places.
Of course, you do not have to glue the entire hall. The point is to identify the critical zones and adapt the installation procedure to them so that the floor stays stable in any weather.
Laying tiles without acclimatisation
A mistake that does not show up straight away is laying tiles straight from the van or from a cold warehouse. The Fortelock technical data sheet requires the tiles to acclimatise in the room of installation for at least 48 hours at 18–26 °C, taken off the pallets and spread out in smaller stacks (10 pieces each, 6 for XL). The subfloor temperature must not drop below +15 °C, and during installation and for 24 hours afterwards the temperature should stay constant within the range of 18–26 °C. A 10 mm gap is left from walls, columns and other fixed points, and a larger one when laying below +15 °C. Details are given in the Fortelock technical data sheet.
Underestimating the most heavily stressed zones – mistake no. 5
Not every part of the floor faces the same strain. While in a home garage the entrance and the area under the tyres take the biggest beating, in a workshop it is the zone around the workbench. In a warehouse, the handling corridors suffer extremely, and in shops it is the area around the checkouts.
Before laying the first tile, therefore, carefully map out the traffic routes. You need to know exactly where the most frequent driving will take place, where heavy equipment will stand permanently and where increased moisture or extreme sunlight is a risk.
Entrances and entryways require maximum attention
The entrance to a garage or industrial hall is one of the most demanding places of all. Not only do heavy cars and handling equipment constantly drive over it, but water, aggressive salt, snow and gravel from the street also concentrate there.
If you skimp on the entrance edge and underestimate the finishing, the edge tiles will start to be excessively strained and will soon get damaged. It is therefore essential to use original entry ramps and, for exposed operations, to consider gluing down the entire first row right away. A precisely handled detail at the entrance can extend the life of the whole floor by years.
Zones for handling equipment often need fixing
In places where forklifts and heavy machinery operate, completely different physical forces act on the covering than during normal foot traffic. In particular, the wheels of loaded trucks turning on the spot exert enormous point and shear pressure on the locks.
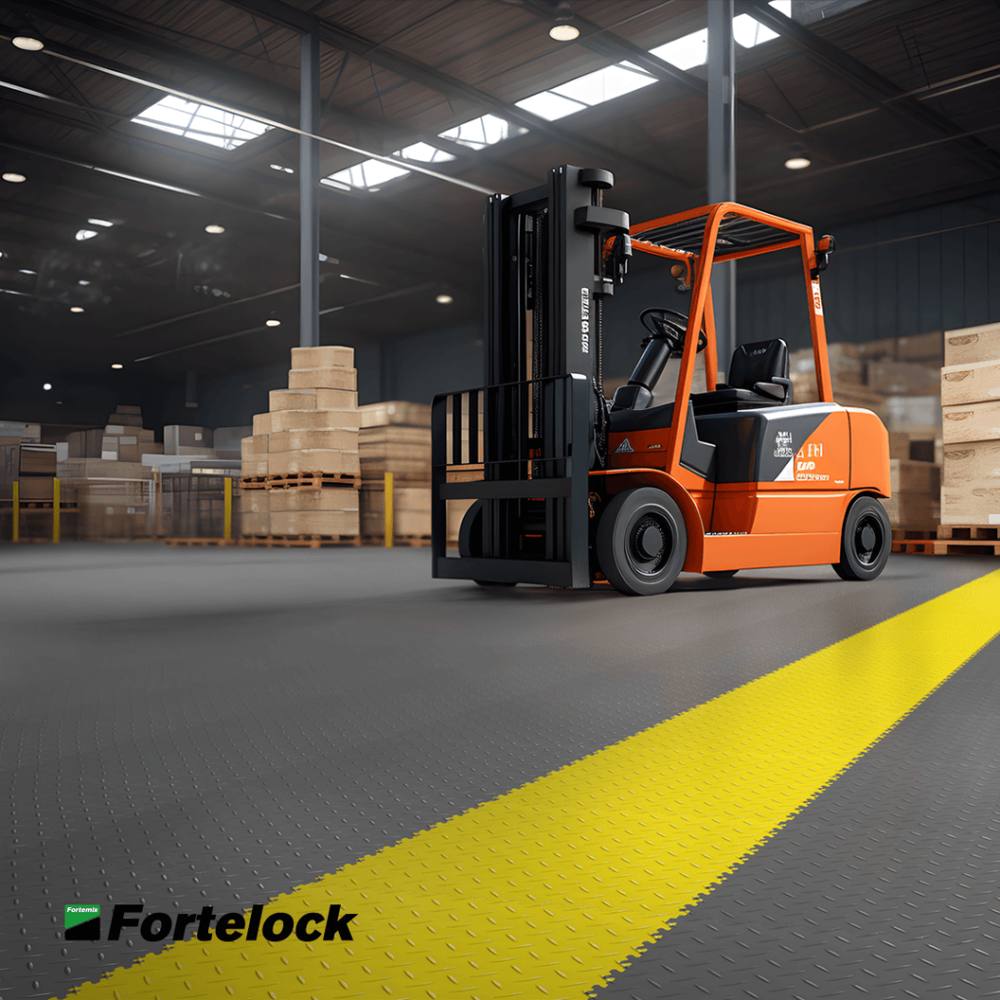
In these extremely exposed zones, you therefore often cannot avoid fixing the tiles over the whole surface with a suitable adhesive. This is not a universal rule for the entire hall, but a targeted technical measure tailored to the specific operation. If you are not sure about the real load of your trucks, always consult an expert in advance – subsequent repairs of destroyed locks during full operation are expensive and needlessly complicate the running of the business.
Forgotten profiles, ramps and finishing details – mistake no. 6
For many people, the work ends the moment they click the last tile into place. But the surface itself is not the end of it. For the floor to work one hundred percent and look professional, you must precisely handle the transitions, corners and finishing at the walls.
Ramps make entry and equipment handling easier
In garages, industrial warehouses and production facilities, original entry ramps are an absolute necessity. They ensure a smooth transition between the original subfloor and the new covering and radically reduce the pressure on the first row of tiles when cars or heavy equipment drive on.
If you skip this element, you create a dangerous sharp edge. Not only does it obstruct movement and increase the risk of injury, but with every crossing it excessively levers the edge locks, which cannot withstand such a load in the long term.
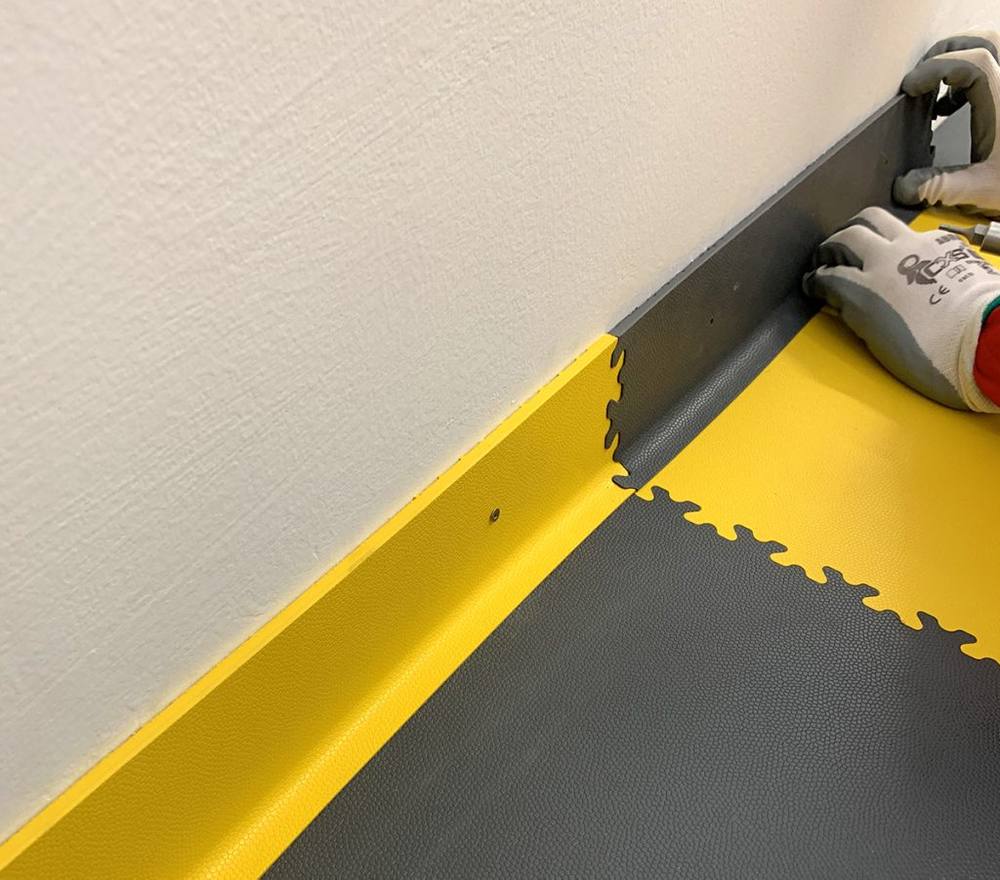
Skirting profiles enhance the look and simplify cleaning
Perimeter profiles do not just elegantly cover the expansion gap at the wall. They create a clean transition between the floor and the wall, visually closing off and unifying the whole space. In demanding operations, they also fulfil an important hygienic role. They prevent the accumulation of dust, moisture and dirt in otherwise hard-to-reach corners.
A reliable floor starts with honest planning
Interlocking PVC floor tiles are a fast and extremely durable solution for garages, workshops, warehouses and commercial spaces. Their huge advantage is that you can often do without complicated construction work and can start using the surface practically immediately after clicking the last tile into place. But for the floor to serve you reliably for many years, you must not rush the initial phase.
Practice shows that most future problems stem from sheer impatience – whether it is ignoring the condition of the subfloor, installing without prior measuring, missing expansion gaps or poorly handled details at the entrances.
Can you install the floor yourself, or is it better to leave it to the professionals?
While you can easily install a smaller home garage or workshop yourself if you follow the correct procedure, for large halls, complex commercial spaces or extremely stressed operations it makes sense to call in the experts. Professional installation will save you time and nerves with the details and guarantee that the floor will stand up to tough everyday operation without hesitation.
Are you planning a renovation and not sure which type of tiles to choose or whether you can handle the installation yourself? Get in touch with us. At Fortelock, we will be happy to recommend the best solution for your specific operation, assess the condition of the original subfloor and, if you are interested, also arrange a complete professional turnkey installation – from the initial preparation to the very last profile.
Frequently asked questions
Where should I start laying interlocking PVC floor tiles?


It depends on the range. According to the technical data sheet, Industry, Industry Ultra and XL are laid from the entrance along two perpendicular lines running from the centre of the room, with the visible part of the lock facing the direction of laying. Invisible, Invisible XL and Business are laid from left to right diagonally from a corner. For areas over 100 m², a grid of perpendicular lines is marked out. The step-by-step procedure is described in the article How to lay Fortelock tiles easily and correctly.
Do Industry tiles need to be rotated during installation?
Yes. With the Industry and XL ranges, each subsequent tile is rotated by 90° relative to the previous one so that the locks hold better at the corners. The logo on the underside of the tile makes orientation easier. The locks are seated with a rubber mallet, with a black or white head depending on the colour of the floor, so that no marks are left on the surface.
How narrow can a cut tile be at the wall?
A cut perimeter tile should be wider than a third of a tile, and more than half of its area at doors and in nooks. That is why the layout of the area is calculated before installation. You can cut with a guillotine, a snap-off knife or a jigsaw. A heat gun makes complex cut-outs easier; always heat the underside of the tile.
Do the tiles need to be glued in forklift areas?
Often, yes. For heavy trucks with small wheels, especially electric trucks with the battery above the driven axle, the technical data sheet recommends testing the tiles first and fixing or gluing them for permanent use. Drivers should avoid spinning the wheels on the spot and braking sharply. You can test the tiles with your own truck through our tile loan service.
How should the subfloor be prepared before laying PVC tiles?
The subfloor must be solid, clean and free of loose layers. Remove any thick layer of dust, peeling paint and debris, and fill cracks wider than 4 mm. Concrete or cement screed may have a moisture content of no more than 3.5%. On old PVC, linoleum or epoxy, compatibility must be tested first, because old plasticised PVC can damage Fortelock tiles.